How to Lower Your Car's Surface Energy
The most important thing to understand is that chrome and similar types of materials often have a high surface energy. When you're wrapping with aggressive films, it tends to bite on these areas - which could create trouble during the installation process and can certainly cut down on the longevity of the wrap itself.
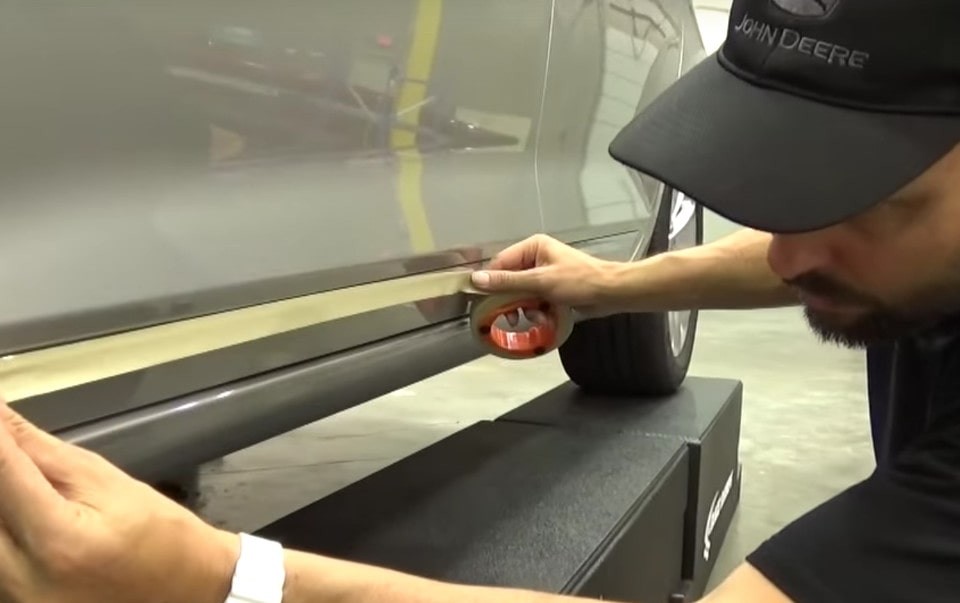
Take standard masking tape and run it alongside the surface of your chrome, from one end of the vehicle to the other. You don't need to run it precisely along the edge - keeping the tape about 1/8th of an inch above will work just fine. Do this with the chrome around the base of your vehicle, below the windows, and especially around your front and rear lights. When you remove that tape later, you'll then be working with the surface energy you need to help make sure that your wrap stays in one place for as long as possible.
Justin Pate's video on the same subject goes over all of these steps, so that you can see precisely how easy it all is.
Additional Considerations: Pre-Inspection Best Practices
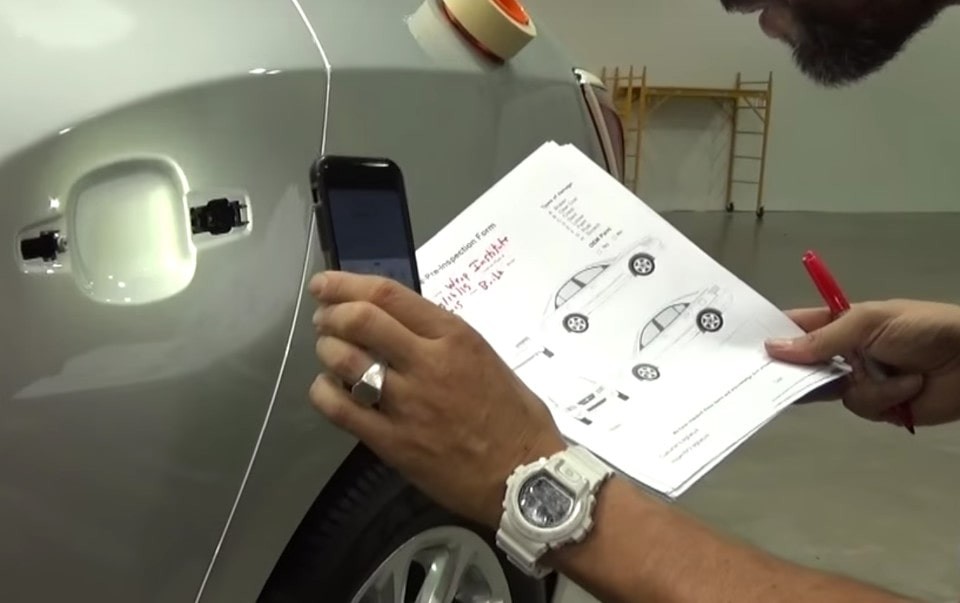
Pre-inspecting your vehicle before work begins in earnest is critical, and you should treat it no differently than you would if you were picking up a rental car from the airport. Using a flashlight, walk around the vehicle and look for instances of both major and minor damage.
Using some type of light is essential, as without it you could easily miss certain specs and other imperfections that could damage the wrap in the future. If there's a small area where the Clear Coat on the vehicle is weak, or if you've been having issues with the primer, this may not seem like a big deal. However, they can absolutely cause additional damage when it comes time to remove your vehicle wrap - particularly if it's been on for three or four years.
During this time, be sure to inspect both the surface of the bumper and the area underneath, as you're likely to find at least some type of damage in both places. All told, your pre-inspection should only take a few quick minutes, but the peace-of-mind it generates alone is more than worth the effort.
If you'd like to find out more about the best practices for vehicle film wrap installation, please feel free to view our library of comprehensive "How To" videos. Would you like even more in-depth installation courses? Check out our available wrap classes and certifications to sign up for a class today!